Installing and Configuring SpringConnect with QBO Follow
When using SpringAhead with the new QuickBooks Online (QBO), a different version of SpringConnect is required to synchronize your QuickBooks data with SpringAhead. This article will show you how to download SpringConnect, link SpringConnect to your SpringAhead account, link your SpringAhead account to your QBO account, and perform a test sync.
Downloading SpringConnect
- If you are currently using SpringConnect, it is advised to back-up your SpringConnect settings before installing the new version.
- Open SpringConnect.
- Click on the SpringAhead Logo in the upper left corner to open a hidden drop-down menu.
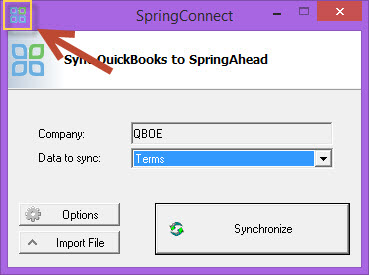
- Select Settings.
- Select Backup Settings.
- Enter your Username and Password as needed (Please Note: You may need to enter these twice). If you are currently using SpringConnect, it is advised to back-up your SpringConnect settings before installing the new version.
- Open SpringConnect.
- Click on the SpringAhead Logo in the upper left corner to open a hidden drop-down menu.
- Click here: Download SpringConnect. When prompted, click Run.
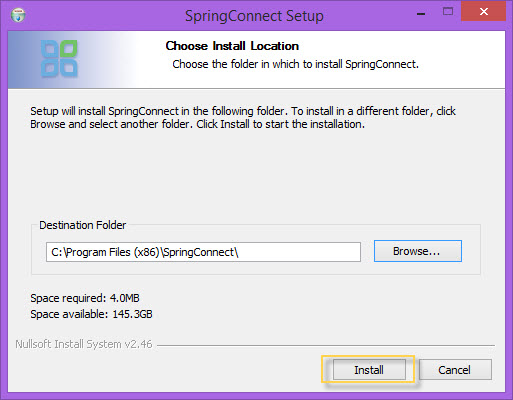
- Click Install.
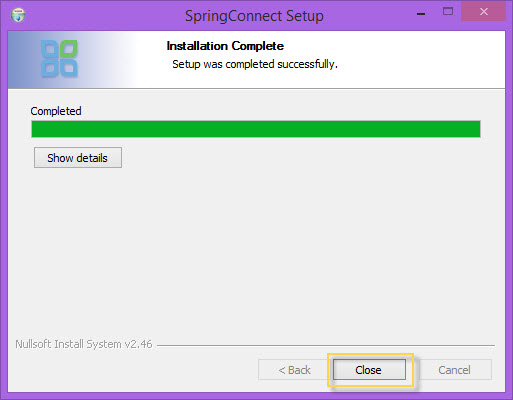
- Click Close.
Linking SpringConnect to SpringAhead
- Open SpringConnect.
- The Settings dialog should appear automatically. If it doesn’t, click Options, then Settings from the main SpringConnect window.
- Link your account by typing your SpringAhead Company Login.
- Below the Data File field, check the Online Edition (QBOE) box.

- Click OK.
Linking Your SpringAhead Account to Your QBOE Account
- Log in to your SpringAhead account by navigating to https://my.springahead.com.
- Click on the Settings button in the upper right of the screen.
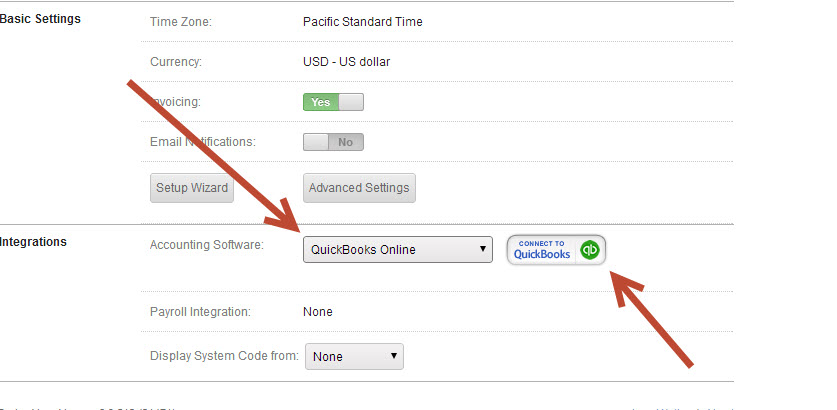
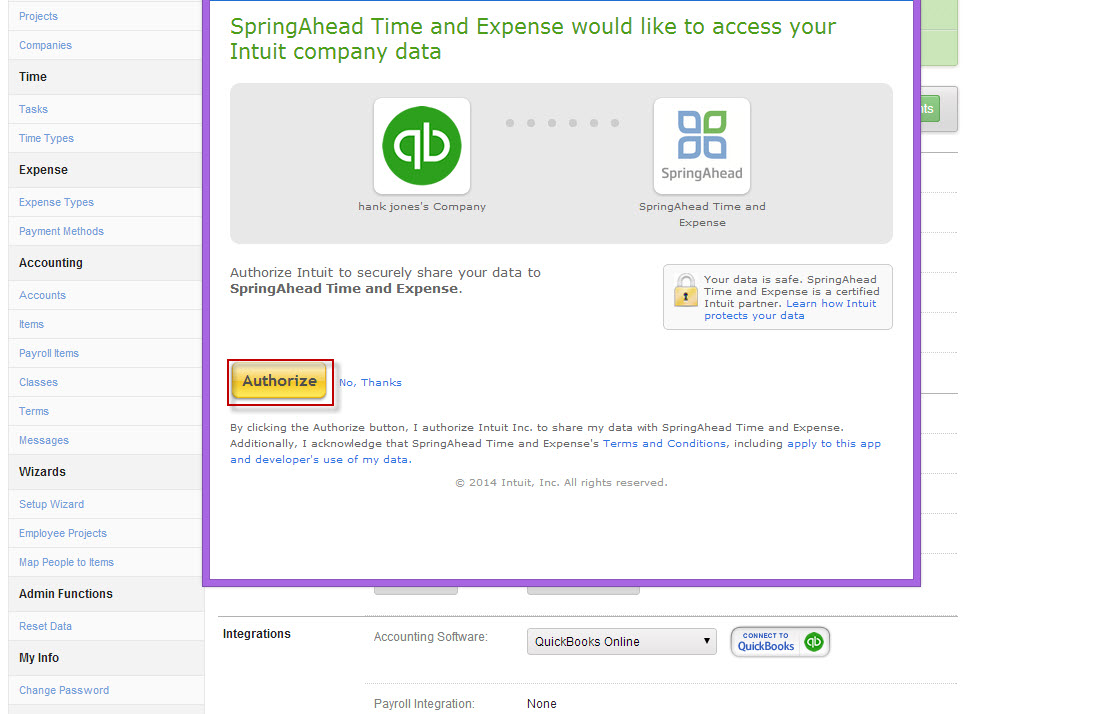
- Navigate to the bottom of the page, select QuickBooks Online from the menu labeled Accounting Software.
- Click Connect to QuickBooks.
- Log in to your QuickBooks account if asked. Otherwise, select Authorize (You will only need to do this once).
Performing a Test Sync
- Open SpringConnect.
- If you backed up your SpringConnect settings earlier in this article, follow these steps to restore them now.
- Click on the SpringAhead Logo in the upper left corner to open a hidden drop-down menu.
- Select Settings.
- Select Restore Settings.
- Enter your Username and Password as needed (Please Note: You may need to enter these twice).
- In the drop down menu for Data to sync, select the smallest list, likely to be Terms.
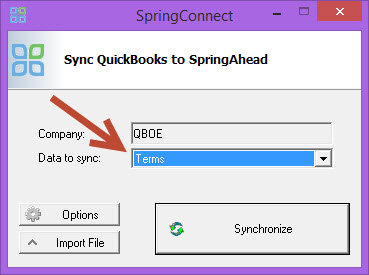
- Click the Synchronize Button.
- When prompted, enter your SpringAhead User Name and Password.
- You should receive a confirmation message upon a successful sync.
- You have successfully created a connection from SpringConnect to QBOE.
- Sync the rest of your lists as needed.