Exporting Reimbursements as Bills Follow
By default, SpringAhead imports checks for employee expense reimbursements but you can also import them as bills with some additional configuration.
SpringConnect allows you to export reimbursable expenses as a bill to a matching vendor in your accounting system as QuickBooks doesn't allow bills to be written out to employees. In many cases, a company will choose to initially create a bill for their expenses rather than a check, the difference being that it does not immediately withdraw the funds from the checking account until the bill is paid and it allows you to control what staging account is used for expenses.
Configuring QuickBooks
QuickBooks does not allow you to have an employee and vendor of the same name, so SpringConnect must identify the matching vendor for whom you’d like to create the bill. By default, SpringConnect will recognize a ‘(V)’ appended at the end of the vendor name. Otherwise, it will match the employee name exactly. For example:
- Adler, Alan = Adler, Alan (V) or Alan Adler = Alan Adler (V)
- Please Note: If you use another convention to differentiate your vendors, we will show you how to configure using your own vendor names at the end of the article. You may also choose to change your vendor names using the SpringAhead default ‘Vendor Name (V)’.
Configuring SpringConnect
Open up SpringConnect and follow these steps:
- Click Options, then Settings.
- Click Other Settings, then Convert Checks to Bills.
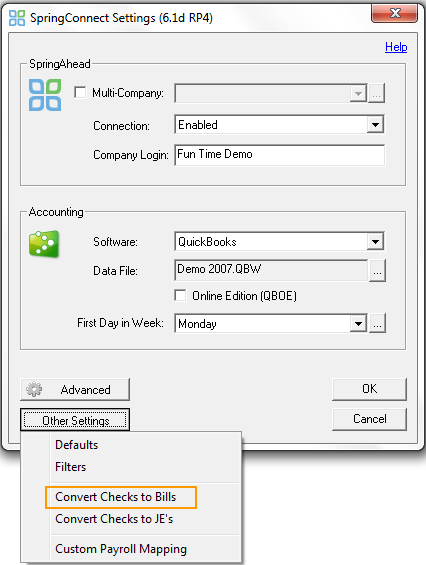
- In the Convert Checks To drop-down, select Bill.

- Click OK in the bottom right-hand corner.
Now, SpringConnect will automatically convert your employee reimbursable checks to bills and send them to your vendor list.
Configuring SpringConnect Using a Different Naming Convention
- Converting the name:
- Click Options, then Settings.
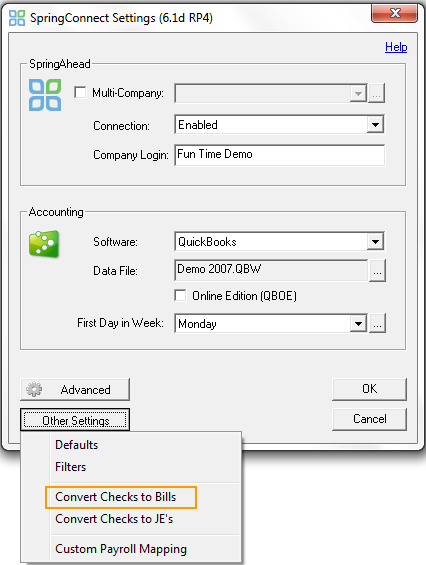
- Click Other Settings, then Convert Checks to Bills.
-
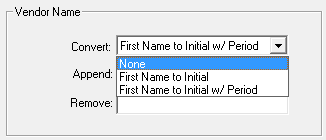
- In the Vendor Name area, for the Convert field, use the drop-down menu to select First Name to Initial or First Name to Initial w/ Period.
Example: If you created a vendor named "A. Adler" instead of "Adler, Alan (V)", select First Name to Initial w/ Period.
- In the Vendor Name area, for the Convert field, use the drop-down menu to select First Name to Initial or First Name to Initial w/ Period.
- Appending the name:
- Click Options, then Settings.
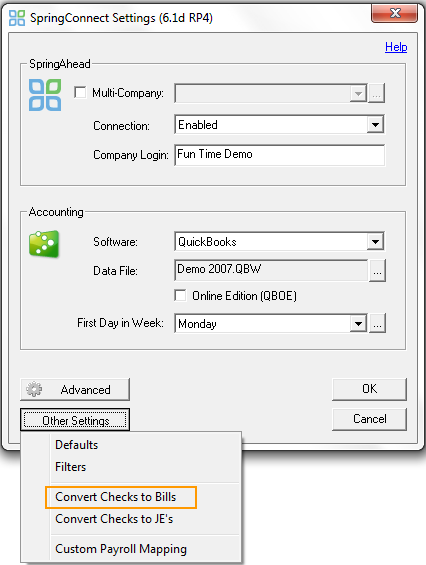
- Click Other Settings, then Convert Checks to Bills.
-
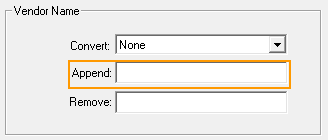
- In the Append area, fill in the appropriate information.
- Example: If you created a vendor named "Adler, Alan -v" instead of "Adler, Alan (V)", type "-v" in the Append field.
Once you've either set the Convert or Append information, click OK to save your settings.