Syncing Data with QuickBooks Using SpringConnect Follow
SpringAhead uses the proprietary SpringConnect engine to seamlessly move data between QuickBooks and SpringAhead. In this unit, we will:
- Install SpringConnect
- Perform the first sync
Select where to install SpringConnect:
SpringConnect should be installed in a location that supports your user environment:
- Single User: The single user environment is defined by QuickBooks being only accessible by a single computer. If this applies to your company, we recommend installing SpringConnect in the default directory C:\Program Files\SpringConnect.
- Multi-user: A multi-user environment exists when more than one user can access QuickBooks from more than one computer. In this case, if you would like to access SpringConnect from multiple computers, select a network location that is accessible to the group (example: “U:\Accounting\SpringConnect”).
- Multi-User Setup: If you chose a network location, SpringConnect only needs to be installed in a single location that can be accessed by all administrators. Each administrator can then access the file by using a desktop shortcut. To create the shortcuts, find the SpringConnect.exe icon in the SpringConnect folder, right-click it and paste the shortcut to the desktop or start menu. Repeat for each administrator.
- If a shared network is not available, each person will have to install SpringConnect as if it were in a single-user environment (see instructions above). This is not ideal because the SpringConnect settings will not be shared.
Download the SpringConnect Installer
The next step is to download the SpringConnect installer. Follow this link to download the file(s):
Install SpringConnect
Once the ‘springconnect-install.exe’ file is downloaded, follow these steps:
- When prompted to run or save the file, click Run
- Install to the location determined above
Single-user environments will be able to access the file in the Windows Start Menu by following: All Programs, SpringAhead, SpringConnect. Multi-user environments will be able to access the file by accessing the networked folder or via the desktop shortcut created in the section above.
Configure SpringConnect
- Open SpringConnect.
- Click your Microsoft Start button.
- Click All Programs.
- OpenSpringAhead.
- ClickSpringConnect.
- The Settings dialog should appear automatically - if it doesn't, click the Settings button from the main SpringConnect window. You will see the following screen:
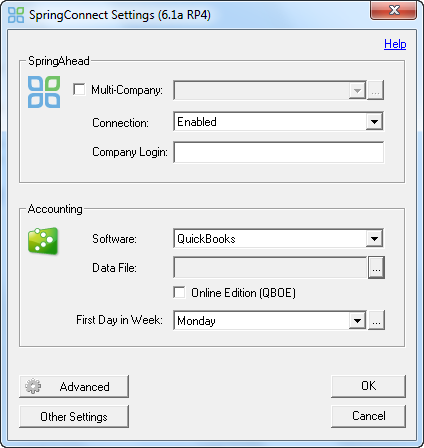
We will now perform three steps:
- Link SpringConnect to the SpringAhead Company Login on the web.
- Link SpringConnect to the data file.
- Synchronize the first day of the week with your QuickBooks file.
Link SpringConnect to the SpringAhead Company Login
- Link your account by typing the email/company name used for SpringAhead under Company Login.
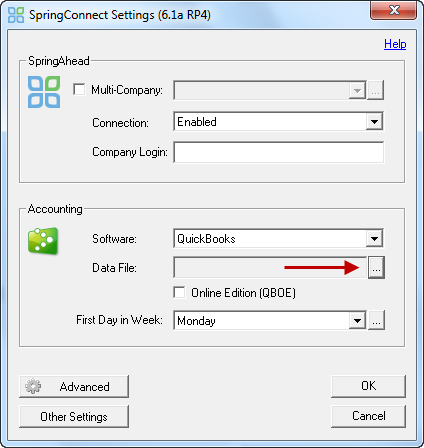
Link SpringConnect to your QuickBooks File
- Open your company file in QuickBooks.
- Click the Button in the Data File row.
- Select Yes when prompted if you want to auto select this file.
- Select Yes, always; allow access even if QuickBooks is not running when prompted.
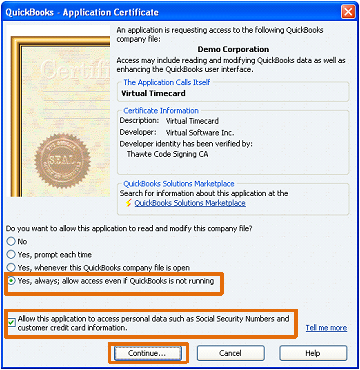
- If a user selection shows, select the Admin user.
- Check Allow this application to access personal data.
- Click Continue.
- Click Done.
You will be returned to the SpringConnect Settings dialog, and your QuickBooks data file should be filled in.
First Day of the Week Setting
First Day of the Week is based on how you manage your business. For example, Monday means your week is Monday-Sunday. SpringConnect will copy your QuickBooks setting. Simply click on the button next to First Day in Week:

Account Numbers
If you use account numbers to organize your chart of accounts, you will want to ensure that Use Account Numbers is checked in SpringConnect:
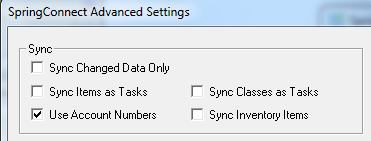
- Open SpringConnect.
- Click Settings.
- Click Advanced.
- Check Use Account Numbers.
- Click OK.
Synchronizing your Data
To synchronize your data now and in the future, follow these steps:
- Open SpringConnect.
- Click Synchronize.
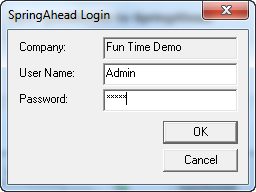
- When prompted to log in to SpringAhead, enter your Company Login, User Name, and Password (provided to you by SpringAhead) and click OK.
- SpringConnect will sync each list one at a time and present a summary of each result.
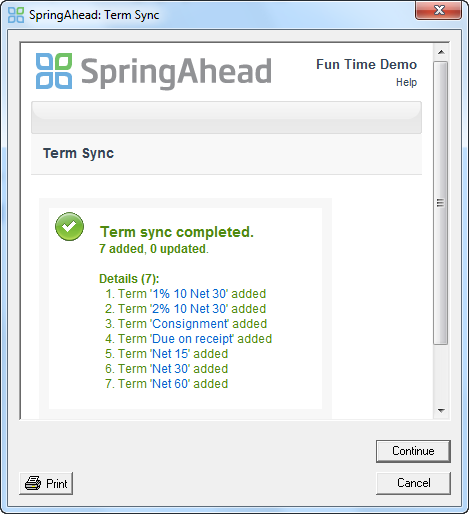
- Review each screen to ensure there are no errors or warnings before continuing. If there are errors, note them and resolve them before completing the sync.
- Press Continue for each list.
- At the end of the sync process, you will see a summary of the number of lists synced.
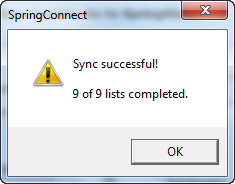
- Click OK.
Please Note: As mentioned at the beginning of Unit 2, SpringConnect syncs up to nine lists from QuickBooks. Depending on how you use QuickBooks, fewer lists may be synced. For example, if you do not use Classes, only eight lists will be synced.